

Ninja Slushi compatibility
Program used: Milkshake (milkshake)
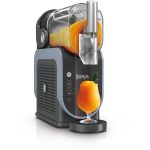
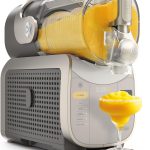
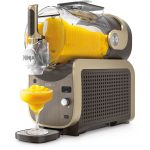
Forget about blenders struggling to mix hard ice cream: the Ninja Slushi directly transforms your dairy base and biscuits into an ultra-creamy drink. The frosty consistency forms gently, providing a velvety texture perfect for sipping through a straw. I initially left the pieces too large which strained the auger: blend them into a fine powder before pouring! This is the secret to a smooth result with an intense biscuit flavor.
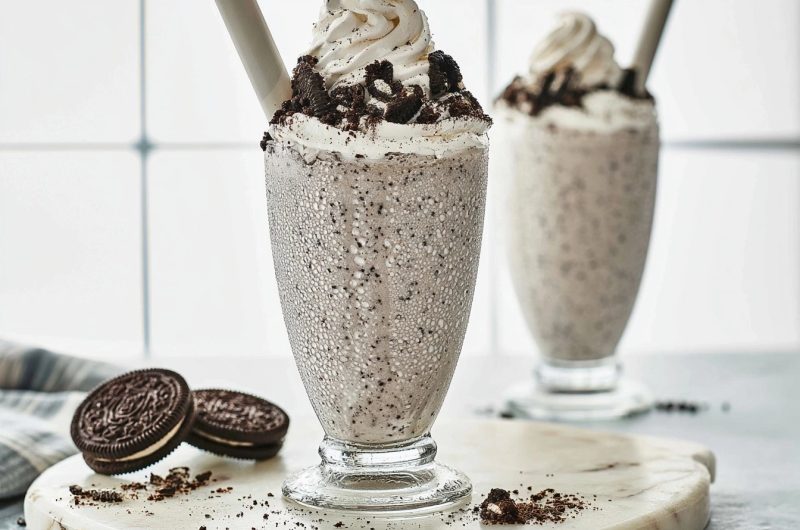
Oreo Milkshake with the Ninja Slushi
Course: MilkshakeCuisine: AmericanDifficulty: Easy4
people5
minutes30
minutes35
minutesA delicious Oreo biscuit milkshake, prepared without ice cream directly in the machine for a perfectly smooth texture.
Ingredients
500 ml whole milk
250 ml heavy cream (30% fat)
100 g sweetened condensed milk
12 Oreo biscuits (blended into a fine powder)
1 teaspoon vanilla extract
Optional: whipped cream and Oreo crumbles for topping
Instructions
- Pulse the Oreo biscuits in a blender or crush them finely with a rolling pin to obtain a homogeneous powder, without large pieces. A very fine powder prevents the machine’s auger from jamming.
- In a pitcher, whisk the whole milk, heavy cream, sweetened condensed milk, and vanilla to fully dissolve the sugars. The condensed milk mimics the texture of melted ice cream by binding the preparation.
- Incorporate the biscuit powder into the dairy mixture and mix vigorously.
- Pour everything into the Slushi bowl (ensure you are between the min and max marks), close it, and select the Milkshake program.
- Let the machine churn until you achieve a thick and creamy texture, then serve in large glasses with a whipped cream dome.
100% plant-based version
100% plant-based version : Since Oreos are dairy-free, simply replace the milk with a barista oat drink and the cream with coconut cream for a very successful vegan alternative.
The perfect balance to replace ice cream
In a classic preparation, you blend ice cream to get that dense side. With our machine, it is the Milkshake program that does the continuous cooling work. But for the texture to hold without freezing into a block of water, you need the right fat and sugar ratio. This is why I combine heavy cream and sweetened condensed milk. The latter acts as a powerful binder, playing the role of antifreeze sugar while providing a beautiful mouthfeel. If you try with only semi-skimmed milk, you will get a milky granita that separates very quickly. A rich drink like our vanilla milkshake with the Ninja Slushi always comes down to this generous base.
The importance of a very fine powder
When I did my first tests with biscuits, I wanted to keep some texture by leaving large chunks. Big mistake with this type of machine: the hard pieces end up getting stuck against the wall, which strains the auger and often triggers an error beep. For this recipe, it is crucial to reduce your biscuits to a very fine powder before incorporating them into the milk. The cocoa flavor will infuse the whole drink, giving it that characteristic grey color and unique scent. If you insist on having a crunch, simply keep a few crumbles to sprinkle on top of your glass just before serving.
Are you team generous whipped cream or do you enjoy it pure to savor the biscuit?
Frequently asked questions
Can I use another type of biscuit?
Yes, as long as you reduce them to a fine powder. Speculoos or chocolate cookies work very well with the same dairy base proportions.
How long does it take for the milkshake to set?
Allow about thirty minutes on the dedicated program. The time varies slightly depending on the initial temperature of your milk: use well-chilled ingredients to speed up the process.
What should I do if there are biscuit lumps?
Coarsely strain your preparation with a sieve before pouring it into the bowl. It is better to remove large pieces to protect your machine’s auger.
Did you enjoy this recipe?
Nobody has voted yet, go ahead
Leave your stars